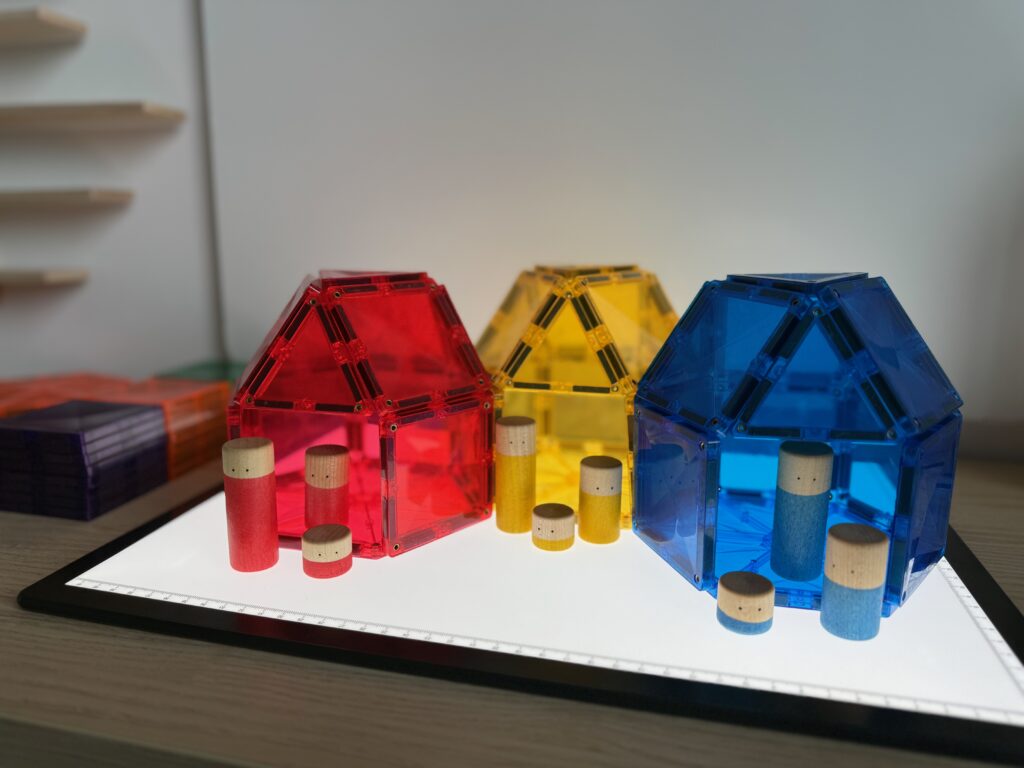
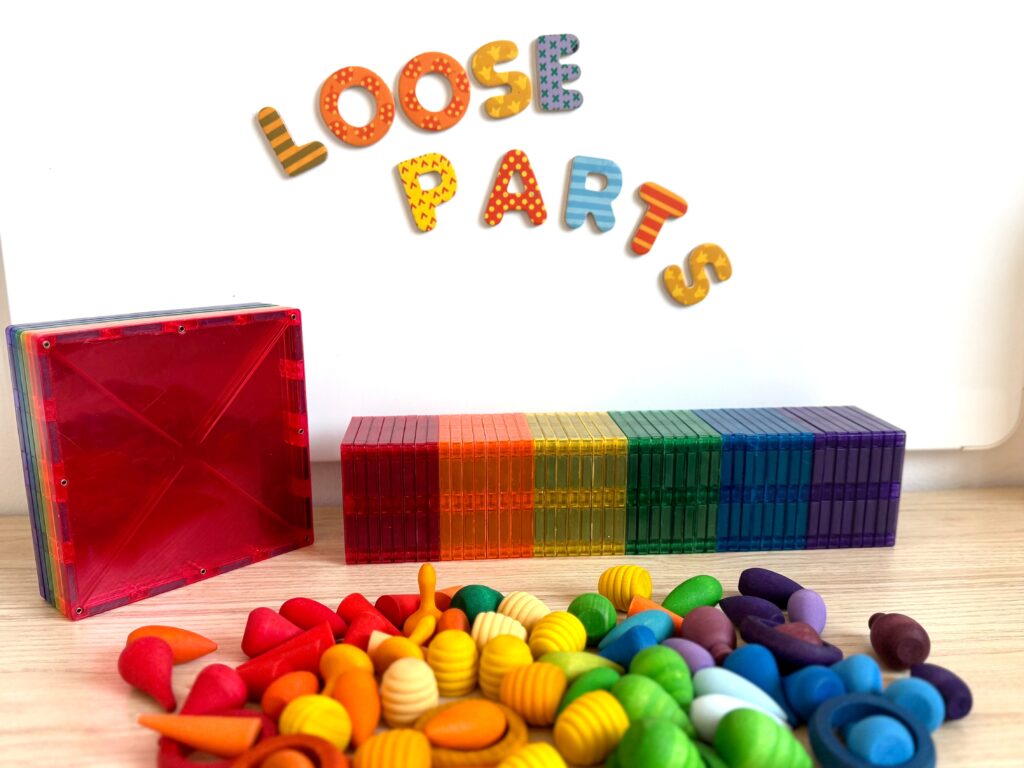
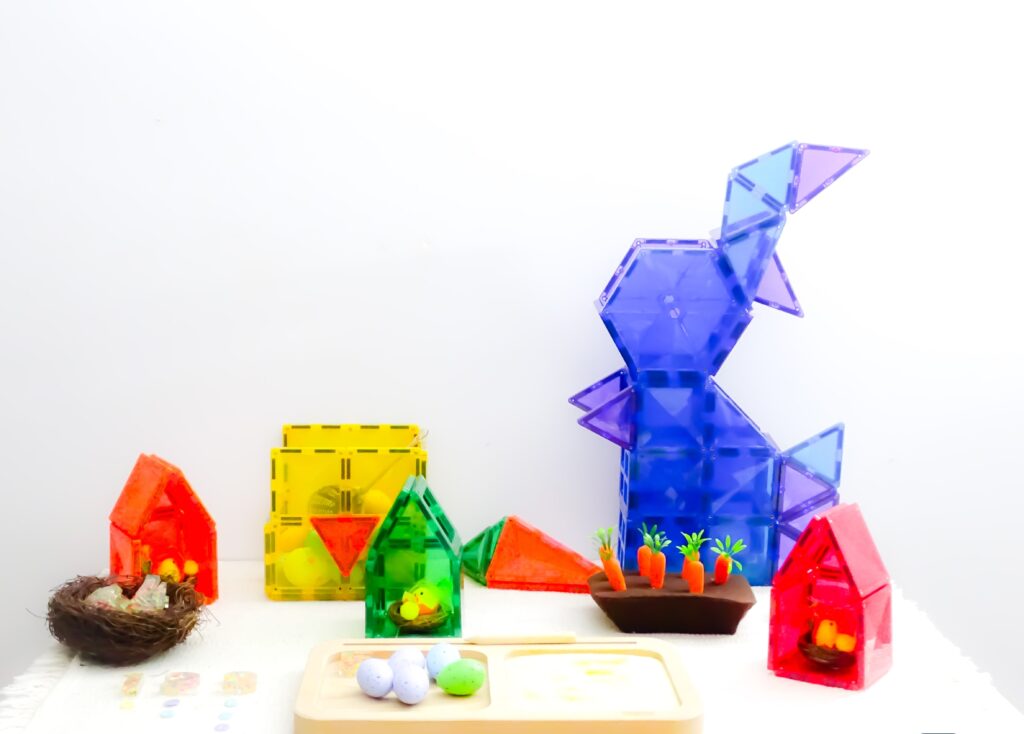
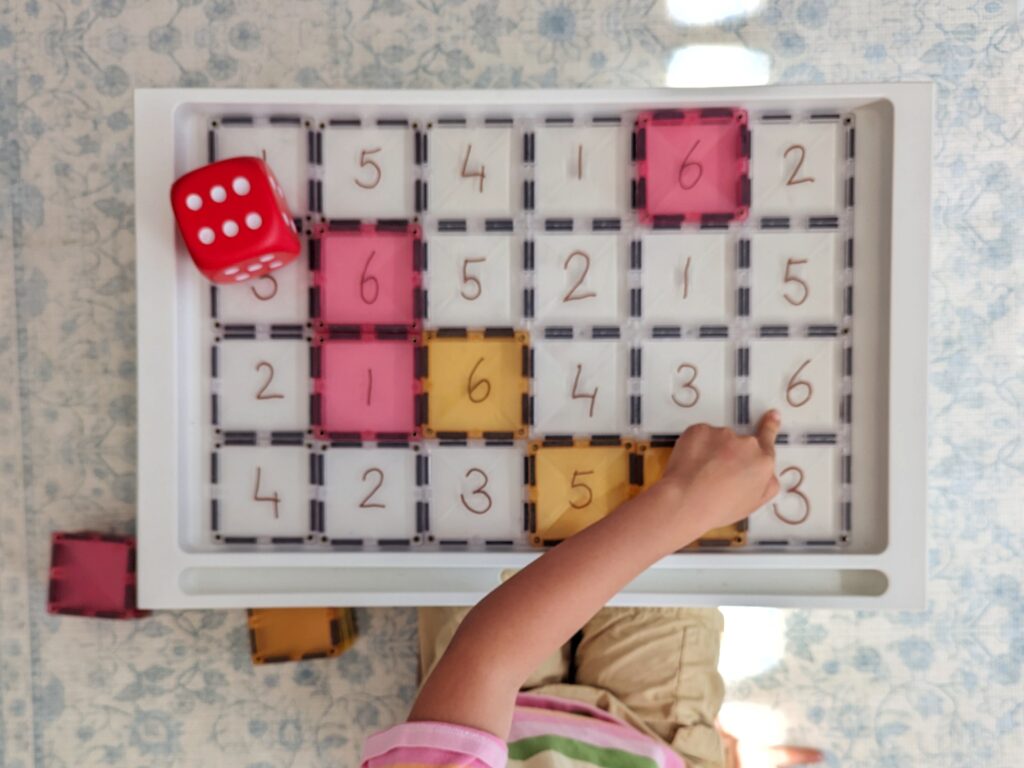
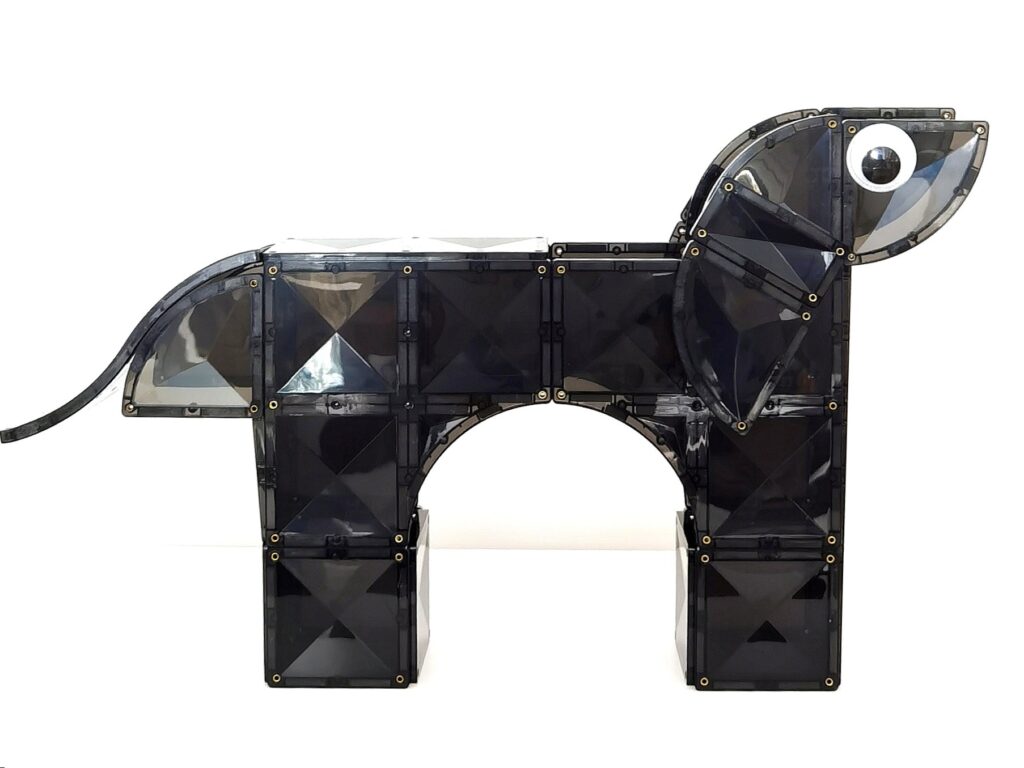
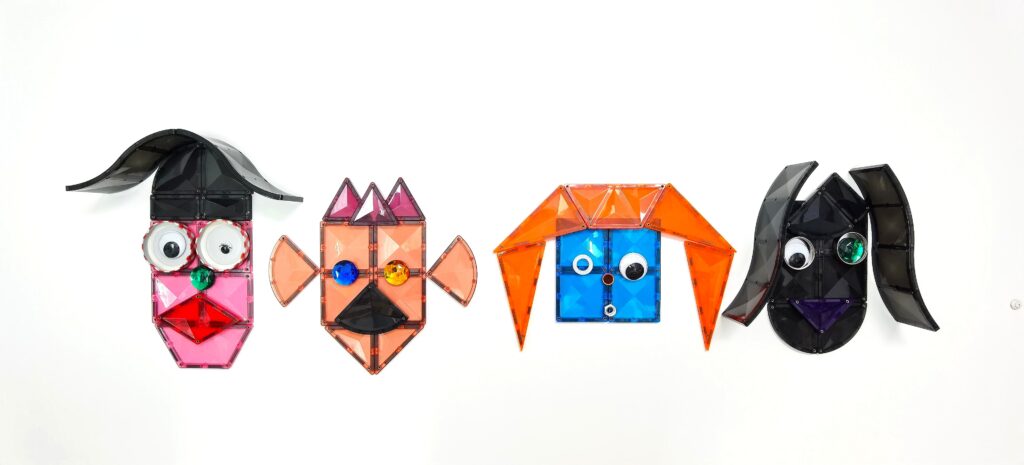
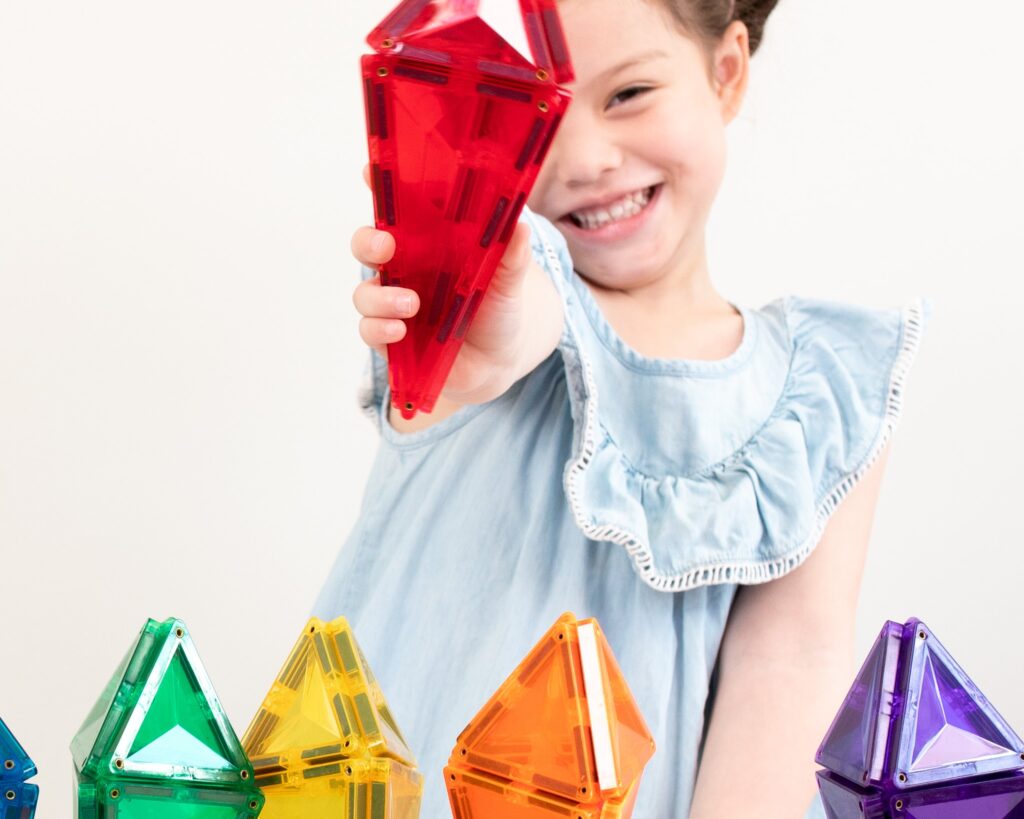
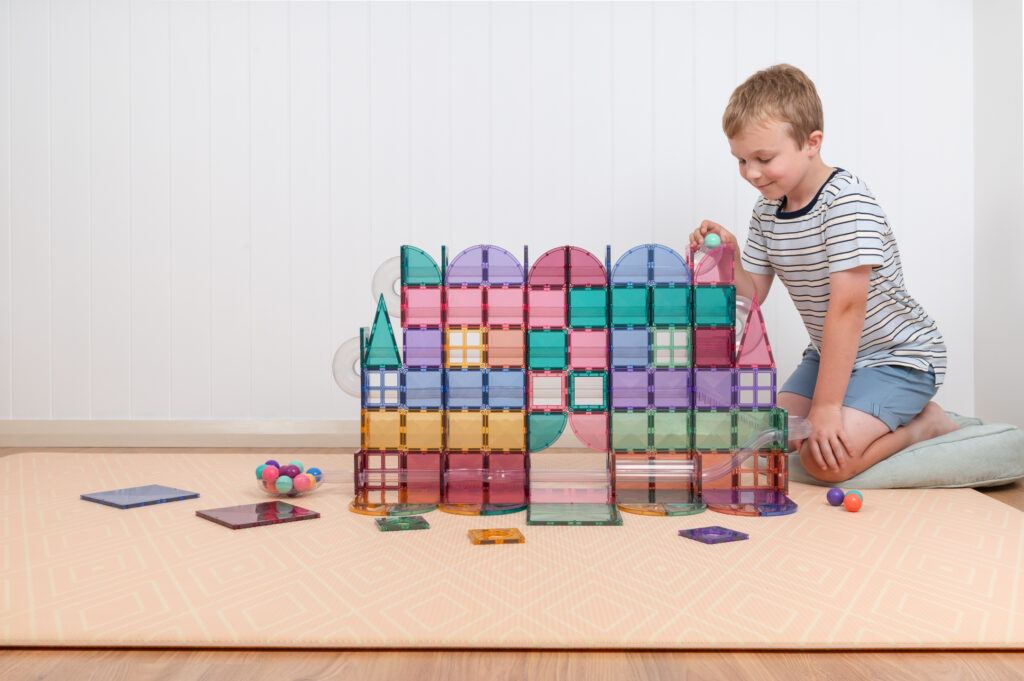
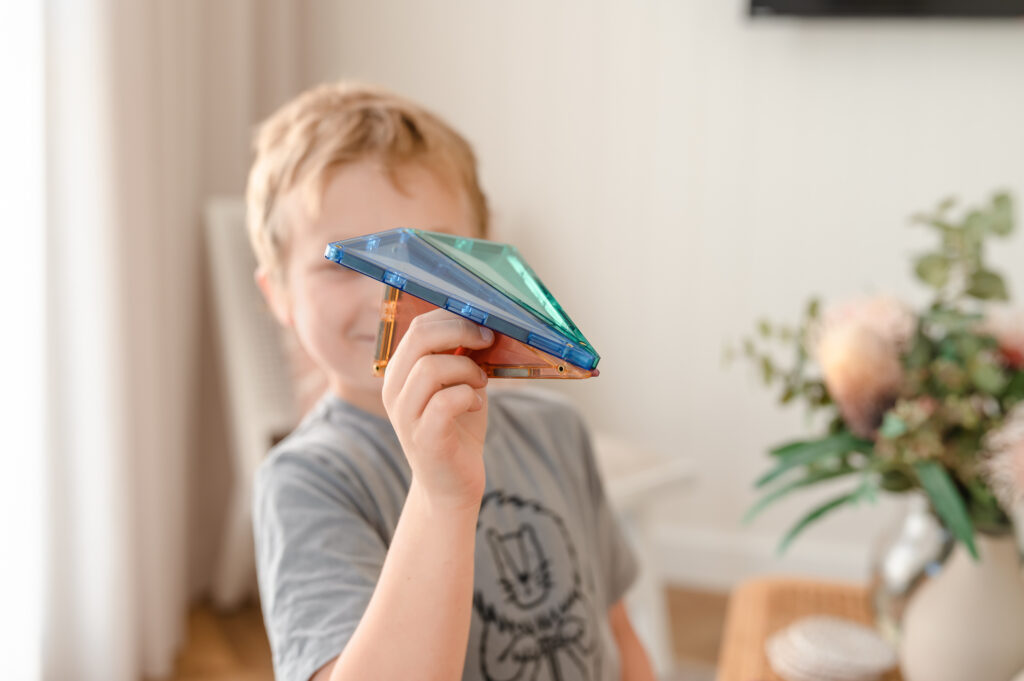
Learning math doesn’t have to be all pen-and-paper or question-and-answer bookwork. There are endless ways to make it open-ended, meaningful and child-led. My favourite things about CONNETIX tiles are the many diverse ways they can be used and the ability to provide tactile, hands-on learning tools – making them ideal for open-ended activities.
Personally, I love open-ended tasks because it allows children the freedom to be creative and provides moments where we can observe them, learn about them and identify what they do and don’t know, to build on their understanding. Open-ended tasks also provide opportunities to explore real life skills and situations, making tasks relevant and interesting.
In these kinds of authentic learning experiences children are provided the chance to see their learning at work in practical and real-world encounters. Tasks like these can be worked on for hours, allowing us to spend time on the concepts needed. They’re also great because activities can be modified to suit the needs, interests and abilities of all children.
So many mathematical concepts can be integrated into open-ended tasks with CONNETIX being used as a visual, manipulable learning tool. Here are some ideas on how you can create open-ended tasks with CONNETIX.
Angles
Angles activities can be made fun and exciting with CONNETIX. In my experience kids have loved tasks where they get to be creative and add their own personal touches to their work. For example, you might ask them to create a mini golf course.
The task: Design a mini golf course.
Using your CONNETIX tiles, design a 9- or 18-hole mini golf course that includes at least:
- 2x 360° angles
- 5x reflex angles
- 7x obtuse angles
- 3x 180° angles
- 6x acute angles
- 4x right angles
- Label your angles in different coloured chalk markers, by adding a different sticker to show each angle or masking tape next to each angle. Don’t forget to include obstacles and features, such as ramps and tunnels, for each hole.
- Using a protractor, choose 3 different reflex, acute and obtuse angles to estimate and measure their size. Now compare some of these angles using < and > (less than and greater than).
- Make sure to include an engaging theme for your players, such as a circus or animal theme. You might draw fun pictures on your course or add props in too.
- Alternatively, you might ask them to identify the different angles in their own creation, then estimate, measure and compare them.
Â
Some other open-ended options are:
- A house floor plan
- A zoo
- A park, including a playground, skate park, pump track, water feature, etc.
- A museum, with rooms for different exhibits and experiences such as a theatre
- A city
Different angle types
- 360° – a full circle
- 180° – a straight line
- 90° – a right angle
- >90° and <180° – obtuse angle
- >0° and <90° – acute angle
- >180 ° – reflex angle
Mapping and directions
Here is another idea where kids can let their imaginations run wild by creating their own maps, drawing in all the landmarks and different locations.
The task: Mapping and directions
Create a map using your CONNETIX. It can be as big or small as you like. Label the grid references along the x and y axis or on a Cartesian plane. You might like to create a map for:
- A new city, suburb or estate (fantasy or non-fiction based)
- A farm
- A shopping Centre
- Buried treasure on a deserted island
Draw or use props to show the various locations and landmarks on your map. You might include:
- A train station
- A lake or waterway
- Roads
- Buildings such as schools, medical centers or grocery stores
- Include a compass with north, south, east and west in the top right corner.
Â
Now that you’ve got your map, give directions for children to follow starting and ending in a different location. Make sure to include specific directional language such as left, right, forwards, backwards, ¼ turn etc., and name key landmarks you will pass. You might even like to use angles in your turns, e.g. turn 90 right.
Perimeter, area and capacity.
Area and perimeter are two topics that are great fun and work seamlessly together. Again, by allowing your learners to have choices and control over what they design and how they present their work, the task fosters their inventiveness and resourcefulness. They can explore and be imaginative while gaining the knowledge and skills we want them to develop. Capacity can also be explored alongside these concepts utilising open-ended tasks. Hands-on materials such as CONNETIX are fantastic as kids can see exactly what is being measured. Here are a few options:
The task: Animal enclosures
A new zoo is opening in the city. Create different enclosures for each animal, each with a perimeter of 240m. However, no two enclosures can have the same lengths on their parallel sides. For example, if the perimeter of an enclosure were 10m, one option could be a rectangle with two 8m sides and two 1m sides. This option can’t be repeated. Create as many options as possible. You can create composite shapes too.
You will need to measure the tiles and keep track of the length as you go. If you need to add more enclosures to fit in additional animals, choose another set perimeter such as 320m or 400m.
Â
*It might be helpful to round the length of the tiles to a whole number or pretend that each tile is 1m long and works with a perimeter of 24m .
Â
Extension option 1: work out the area of each enclosure. What do you notice happens to the area when the perimeters are the same?
Â
Extension option 2: the zookeepers would like to build a huge fish tank to display a range of tropical creatures. Design a fish tank using your CONNETIX and then work out the total capacity of water it can hold.
The task: How much paint?
Imagine you are designing the house of your dreams, but you need to work out how much paint to order. Build your house (or a single room) using your CONNETIX, then work out the total surface area of your walls and ceilings.
Â
Extension option 1: if you decide to have different coloured walls or ceilings throughout your house, work out the cost of each colour and how many coats you will need to total the final cost.
Â
Extension option 2: work out the total surface area of flooring, choose a floor type and work out the overall cost. You might like to have different flooring options as well.
Â
Extension option 3: you’ve decided to add a pool to your home. Create it using your CONNETIX then work out its total capacity.
You will need to measure the tiles and keep track of the length as you go. If you need to add more enclosures to fit in additional animals, choose another set perimeter such as 320m or 400m.
*It might be helpful to round the length of the tiles to a whole number or pretend that each tile is 1m long and works with a perimeter of 24m .
Extension option 1: work out the area of each enclosure. What do you notice happens to the area when the perimeters are the same?
Extension option 2: the zookeepers would like to build a huge fish tank to display a range of tropical creatures. Design a fish tank using your CONNETIX and then work out the total capacity of water it can hold.
Time
Time is a practical skill we all need to know. It helps to have a physical clock to count time for everyday events like planning your day or reading timetables. CONNETIX isosceles triangles are great when it comes to building your own clock!
Your task: build a clock, work out the time
Grab 12 isosceles triangles and create your clock face. Write in the numbers showing 12- and 24-hour time, then add in the clock hands.
Using your local bus or train timetable, plan a trip to another city. Using your clock to help you, include the following in 24-hour time:
- The time you left
- At least 2 stops for meals, when you arrived and departed each
- The time you arrived
Then work how long each part of the trip was. For example, from the start point to stop one, how long you spent off the train at stop one, from stop one to stop two, etc. Work out the overall time it took from start to finish.
Â
CHALLENGE: the train line was undergoing work after stop one. Compare different modes of transport and the time each will take to arrive at your destination. Plan your trip using the fastest route possible.
We hope you love these hands on learning ideas focusing on all types of measurement. Don’t forget to share your ideas!